You may be wondering how a rainwater harvesting tank will be installed underground. It is easy to install thanks to intelligent components and the GRAF module system and will provide you with a supply of totally clean and free rainwater.
A rainwater harvesting system will cut your home’s demand for drinking water by up to 50% and therefore also protect the environment. Using rainwater for toilet flushing, washing machines and watering the garden save precious drinking water. A GRAF rainwater harvesting system is a reliable part of modern home technology.
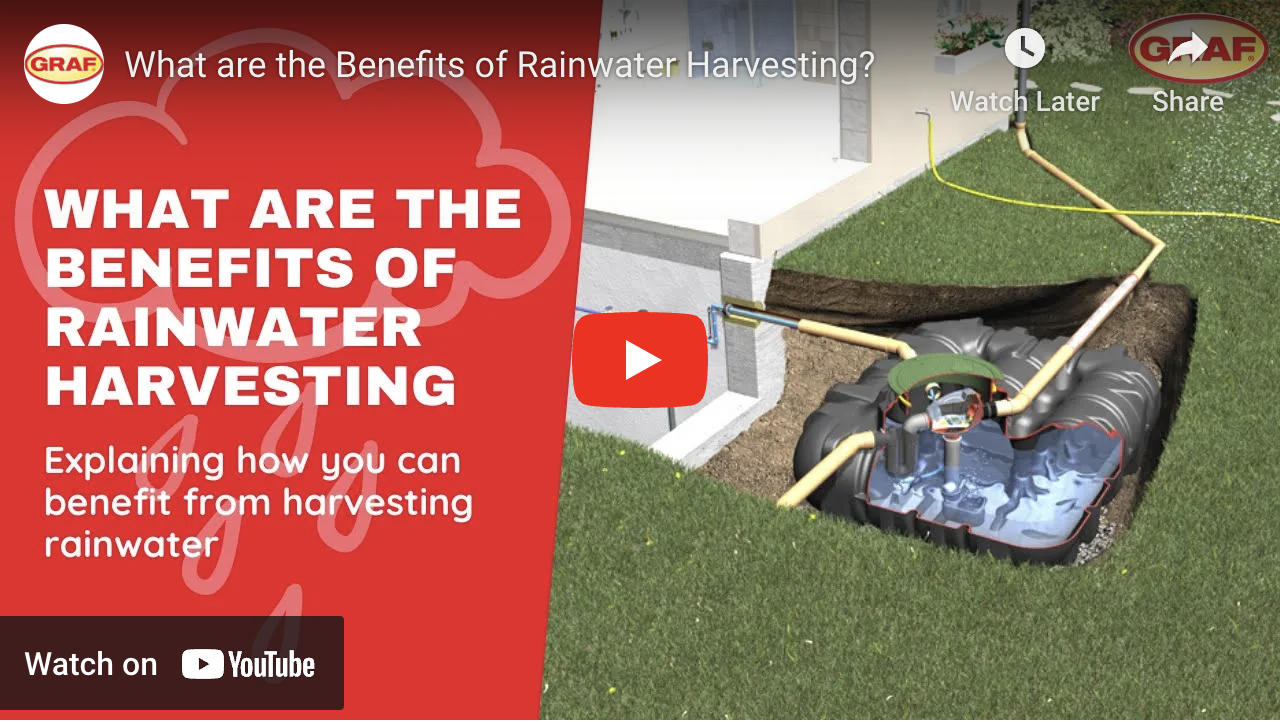
How Does A Rainwater Harvesting system work?
It’s not just commercial and industrial organisations that can capture rainwater for reuse. There are also easy-to-use and install options for domestic properties, like our GRAF rainwater harvesting system.
Our simple system captures rainwater at roof level and safely directs it into an underground harvesting tank through the downpipes. Using the integrated filter, the water is processed and moves through the distilling well into the tank.
A floating suction hose is used to draw the water from just below the surface – where it is at its cleanest – and finally directed into the property and used until the tank is empty.
There are four main components to the system:
- Underground tank
- Tank cover
- Filter package
- Pump package
Where Will My Tank Be Installed?
The GRAF Systems are designed to be installed underground. An excavation will need to be prepared to put the tank into.
For the excavation, you will need to include a few different materials to give your tank a solid structure and base. This will include the following:
- Compacted Stone
- Pea Gravel
- Stone
- Water
The excavation site should be lined with 150milll of compacted stone. The tank would then be placed on top of this. Then, the tank should then be partially filled with water to stabilize it before backfilling around the tank with further stone. We would normally recommend 8 to 16mill pea gravel or non-angular stone to do this.
You will also need to add components when installing pipes. Any pipes coming into the tank, which are going to be used as inlets, outlets, or service ducts should also be bedded in pipe shingle. Alongside installing the tank, we will have a service duct to bring electrical connections into the underground tank along with rainwater pipes coming out. This allows you to use the rainwater tank fully going forward and makes maintenance and servicing on the system possible in the future.
What If I Have Poor Soil?
You can also install the tank with a lean concrete mix. This is generally favourable if you have very poor soil conditions or there is a heavy clay content. This also helps, of course, with seasonally high groundwater to ensure the tank remains stable in the ground.
Step-By-Step Summary
There are 9 steps involved in installing the system:
- Excavate the area for the tank installation. Follow any guidelines related to slopes and groundwater levels.
- Lower the tank into the trench ensuring it is aligned horizontally.
- Carefully attach the tank turret to the top of the tank.
- Install the filter package before connecting the roof downpipes along with the overflow u-bend. Aim for a minimum decline of at least 1% in the same direction as the flow.
- Using gravel or similar, backfill the excavated space in layers of 30cm while raising the water level at the same time.
- Before the backfilling is complete, install the dome shaft, which can be adjusted to fit flush with ground level once the hole has been filled.
- Connect the underground tank to the house with a pipe. This will be managed by the control panel inside the property where the entire system operates from.
- Install the control panel in a nearby area such as the garage or utility room and connect it to the external piping linked to the tank.
- Lastly, ensure all rainwater pipes have the appropriate markings to identify those which are not used for drinking water.
Where Should The Tank Be Placed?
Tanks are best situated 2-10m from the home at a convenient to a point where the downpipes from all four sides of the building can be brought together in one 110mm drain pipe. This is usually the lowest point on the grounds if there is any slope. Your architect or builder will help you find the best place for your tank.
Can Tanks Be Installed Under A Patio Or Driveway?
Yes, we have a few different options available for tanks installed under driveways so its safe to drive or park over.
Carat – GRAF Carat Rainwater harvesting packages feature their patented Optimax-Pro (self-cleaning) filter that requires minimum maintenance and provides over 95% water yield. The filter housing has a transparent lid for filter visibility and can be easily removed without tools.
The ECO-Plus System features an Aqua-Center Basic control unit that checks and regulates the entire water requirement. The floating switch-controlled monitoring of the tank ensures that the unit automatically switches to the mains water supply if the rainwater level drops below the predefined minimum. As soon as the tank refills with rainwater, the Aqua-Center Basic switches back to rainwater supply, ensuring that only a minimum of mains water is used during long dry periods. Suitable for vehicle loading when combined with a cast iron telescopic dome shaft, meaning the Carat tank can then be installed under your driveway.
Platin – This 7,500 litre Platin Garden-Comfort Rainwater Harvesting system from GRAF is designed specifically for garden use and features a shallow dig, low profile tank for ease of installation which translates into a short installation time and low installation costs.
GRAF garden packages have a basket filter that reliably holds back contaminants, whilst the filter construction guarantees a water yield of 100%. The tank’s dome shaft provides easy access to the filter and tank and comes with a cover suitable for either pedestrian loading or vehicle loading that blends seamlessly into the ground surface. It also features a submersible pump that switches on and off automatically.
The rainwater stored in the tank can be extracted very easily. The unique water hose connection box allows you to connect up equipment for watering the garden, and can be installed at any location in the garden or in the tank cover itself – just simply connect your garden hose or lawn sprinkler to the integrated standard connection valve.